This post describes creating a cong vase using the CadQuery Python library for Computer Aided Design (CAD). There is a link below to open this post as a Jupyter Notebook so that you can modify the code to create a Cong vase and download an STL file of your own that you could 3D print.
Introduction
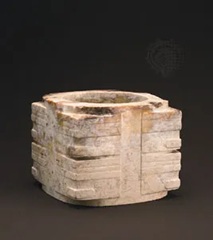
The cong vase has been my favorite shape of pottery since I saw one in a museum. The cuts into the rectangular exterior create symmetrical facets that I find very visually satisfying. This style originated in China during the Neolithic era with the first cong vessels carved out of Jade. The earliest ceramic vases using this style were made about 1000 years ago during the Song dynasty.
The cong vessel formula only requires a rectangular box exterior with uniformly spaced cuts and a cylindrical mouth and base. Different aspect ratios are allowed, creating many fun possible variations.
Designing the Vase using Code
As the geometry is very uniform, it is well-suited to creating with code. For CAD we will be using the free, open-source python library CadQuery. You can read the documentation and look through the examples here. Open this Jupyter notebook in Colab to follow along and modify if desired:
![]()
# import the CadQuery library
pip install cadquery
import cadquery as cq
Defining the Dimensions
To define the geometry we start with the width and height of the rectangular box section. I will replicate the faceted corners using “C”-shaped cuts repeated along the height. The pattern can be parameterized by defining the number of “C” inserts along the height and the width of the inserts. The thickness of these “C” inserts is defined by the number of inserts and the vase height.
# Dimensions of the box part of the Cong vase
width = 10.2
height = 23.4

# Number of "C" shaped inserts cut arranged along the height
n_inserts = 8

# The width of the "C" cut. Should be <= width/2
w_insert = width*0.25

# The thickness of the "C" cuts is defined by the total vase height and number of inserts
t_insert = height / (n_inserts*4+1)
Starting the Geometry
Cong vases have four-fold rotational symmetry, so it is most efficient to start by creating just a quarter of the vase that we will later repeat. I begin by creating a rectangular shell with the inner surfaces removed. The side lengths should be half the final width as we plan to mirror it in both directions. Creating this object in CadQeury is possible with just a few function calls.
# Thickness of the walls of the vessel. Should be > t_insert or the cuts will go through the side of the vase
thickness=t_insert*1.5

# create the CadQuery box object, remove +X and +Y faces and hollow out
object1 = (
    cq.Workplane("XY")
    .box(width/2, width/2, height)
    .faces("+X or +Y")
    .shell(-thickness)
)

Creating the Cuts
Now I am going to create the “C”-shaped inserts into the corner of this geometry on the -X and -Y faces. Each “C” insert is made of two horizontal box cuts $w_{insert}$ wide and $t_{insert}$ tall, and one vertical box cut $t_{insert}$ wide and $3 t_{insert}$ tall. The horizontal cuts are spaced every $2 t_{insert}$ and the vertical cuts are defined every $4 t_{insert}$. It is easiest to make the pattern of all rectangle locations and perform one cut for each face.
When you begin drawing on faces in CadQuery, a local origin and coordinate system is placed at the face center. On the -X face, the local +X is toward the edge, but on the -Y face, the local +X is away from the edge. Thus, the X coordinates of the boxes differ for the two faces.
# On the -X face, we start at the center and +X is toward the corner. We want both boxes to start 'w_insert' to the left of
# the corner.
h_inserts_x = [
    (width/4 - w_insert, height/2 - t_insert * 2 * (i + 1))
    for i in range(n_inserts*4)
]

v_inserts_x = [
    (width/4 - w_insert, height/2 - t_insert * 4 * (i + 1))
    for i in range(n_inserts*2)
]

# On the -Y face, we start at the center and +X is away from the corner. We want the horizontal boxes to start at the edge
# and the vertical boxes to start at (w_insert - t_insert) to the right of the edge.
h_inserts_y = [
    (-width/4, height/2 - t_insert * 2 * (i + 1))
    for i in range(n_inserts*4)
]

v_inserts_y = [
    (-width/4 + w_insert - t_insert, height/2 - t_insert * 4 * (i + 1))
    for i in range(n_inserts*2)
]

# take the cuts out of the -X face
object2 = (
    object1
    .faces("<X")
    # we are going to tag and save the center of this face because after we cut, the centroid of this face will be changed.
    .workplane(centerOption="CenterOfBoundBox")
    .tag("-x_center")

    .pushPoints(h_inserts_x)
    .rect(w_insert, t_insert, centered=False)
    .cutBlind(-t_insert)

    .pushPoints(v_inserts_x)
    .rect(t_insert, t_insert*3, centered=False)
    .cutBlind(-t_insert)

)

# take the cuts out of the -Y face
object2 = (
    object2
    .faces("<Y")
    # we are going to tag and save the center of this face because after we cut, the centroid of this face will be changed.
    .workplane(centerOption="CenterOfBoundBox")
    .tag("-y_center")

    .pushPoints(h_inserts_y)
    .rect(w_insert, t_insert, centered=False)
    .cutBlind(-t_insert)

    .pushPoints(v_inserts_y)
    .rect(t_insert, t_insert*3, centered=False)
    .cutBlind(-t_insert)

)

Finally, I want to create one more cut on each face creating the vertical slot going through the center of the vase sides. I am going to leave $t_{insert}$ gap between the “C”-shaped inserts and this central vertical slot.
# Finally, also cut vertical slots in the center of each face. Leave t_insert spacing between the vertical slots and the
# C-shaped cuts.
object3 = (
    object2
    .workplaneFromTagged("-x_center")
    # start at the lower left corner of the face
    .center(-width/4,-height/2)
    .rect(width/2 - w_insert - t_insert, height, centered=False)
    .cutBlind(-t_insert)

    .workplaneFromTagged("-y_center")
    # start w_insert + t_insert to the right of the left corner
    .center(-width/4 + w_insert + t_insert,-height/2)
    .rect(width/2 - w_insert - t_insert, height, centered=False)
    .cutBlind(-t_insert)
)

Rounding some Edges
Now that I have the basic shape of the vase quarter with “C”-shaped cuts meeting at the outer edge and central vertical cut, I want to add some fillets to smooth the inner edges. Selecting edges to fillet wwith CadQuery is slightly complicated as the edges must be filtered programatically. I need to exclude the inner edges that will get joined into the full vase. I also want to leave the vertical edges at the outside corner sharp to create a visually striking sharp edge. I will create a function that masks every edge to fillet or not according to these requirements.
# define a function that returns only the desired inner edges.
def cut_perimeters(e, tol=1e-4):

    # coordinates of the edge centerpoint
    x, y, z = e.Center().toTuple()

    # Exclude +/-Z, +X, and +Y faces
    if abs(abs(z) - height/2) < tol or x > width/4 - tol or y > width/4 - tol:
        return False

    # Include the edges on the -X and -Y faces and the faces cut 't_insert' deep into those faces
    outer_and_cut_faces = any(abs(x - v) < tol for v in (-width/4, -width/4 + t_insert)) or \
                    any(abs(y - v) < tol for v in (-width/4, -width/4 + t_insert))

    # Ignore the vertical edges on the outer corner to keep it sharp. Both the outer edges and the ones cut 't_insert' into
    # the edge.
    is_outer_corner = abs(x - (-width/4)) < tol and abs(y - (-width/4)) < tol
    is_inner_corner = abs(x - (-width/4 + t_insert)) < tol and abs(y - (-width/4 + t_insert)) < tol

    # fillet edges
    return outer_and_cut_faces and not (is_outer_corner or is_inner_corner)

# define the radius of the fillet
fillet_radius = 0.2

object4 = (
    object3
    .edges()
    .filter(cut_perimeters)
    .fillet(fillet_radius)
)

Mirroring into the Full Vase Geometry
Now I am ready to make the four copies of the geometry to create the full vase body. I will do this with two mirror operations. First, I translate the geometry so that the center of the vase coincides with the global origin [0,0], then mirror across “XZ” and “ZY” planes.
object5 = (
    object4
    .translate((-width/4, -width/4, 0))
    .mirror("XZ", union=True)
    .mirror("ZY", union=True)
)

Adding the Neck and Foot
Working on the abstracted quarter vase has paid off. The full rectangular body of the vase was created very easily and is starting to look like a Cong vase! I have just a few finishing touches of adding the neck and foot.
# Define the inner and outer radii and height of the upper annulus forming the neck
outer_radius_neck = 3.8
inner_radius_neck = 3.41
lip_height = 1.8

# Add the neck to the +Z face
object6 = (
    # First, cut the inner radius circle downwards to create an opening into the vase interior.
    object5
    .faces(">Z")
    .workplane(centerOption="CenterOfBoundBox")
    .tag("+Z")
    .circle(inner_radius_neck)
    .cutBlind(-thickness*1.2)

    # Next, define the annulus and extrude it upwards by the lip height.
    .workplaneFromTagged("+Z")
    .circle(outer_radius_neck)
    .circle(inner_radius_neck)
    .extrude(lip_height)
)

# I will use a slightly larger radius for the lower cylinder making the foot. No cut is necessary - leave the botom of the
# vase closed.
outer_radius_foot = 3.95
inner_radius_foot = 3.45

# Add the foot to the -Z face
object6 = (
    object6
    .faces("<Z")
    .workplane(centerOption="CenterOfBoundBox")
    .circle(outer_radius_foot)
    .circle(inner_radius_foot)
    .extrude(lip_height)
)

The final touch is to fillet the connection of the neck and foot to the body of the vase. I will create another quick filtering function to select just the circular edges joining the neck and foot to the body.
# Once more we define a filtering function. We just want to capture the circle edges
def base_circle_filter(edge, tol=1e-4):
    if edge.geomType() != "CIRCLE":
        return False

    r = edge.radius()
    z = edge.Center().z

    is_top_base = (abs(r - outer_radius_neck) < tol) and (abs(z - (height/2)) < tol)
    is_bottom_base = (abs(r - outer_radius_foot) < tol) and (abs(z - (-height/2)) < tol)

    return is_top_base or is_bottom_base

# radius of the fillets
neck_fillet_radius = 0.4

object7 = (
    object6
    .edges()
    .filter(base_circle_filter)
    .fillet(neck_fillet_radius)
)
Exporting to CAD to 3D Print
Now the vase is finished. I can export the CadQuery object to a .STL file and 3D print it.
cq.exporters.export(object7, "cong_vase.stl")
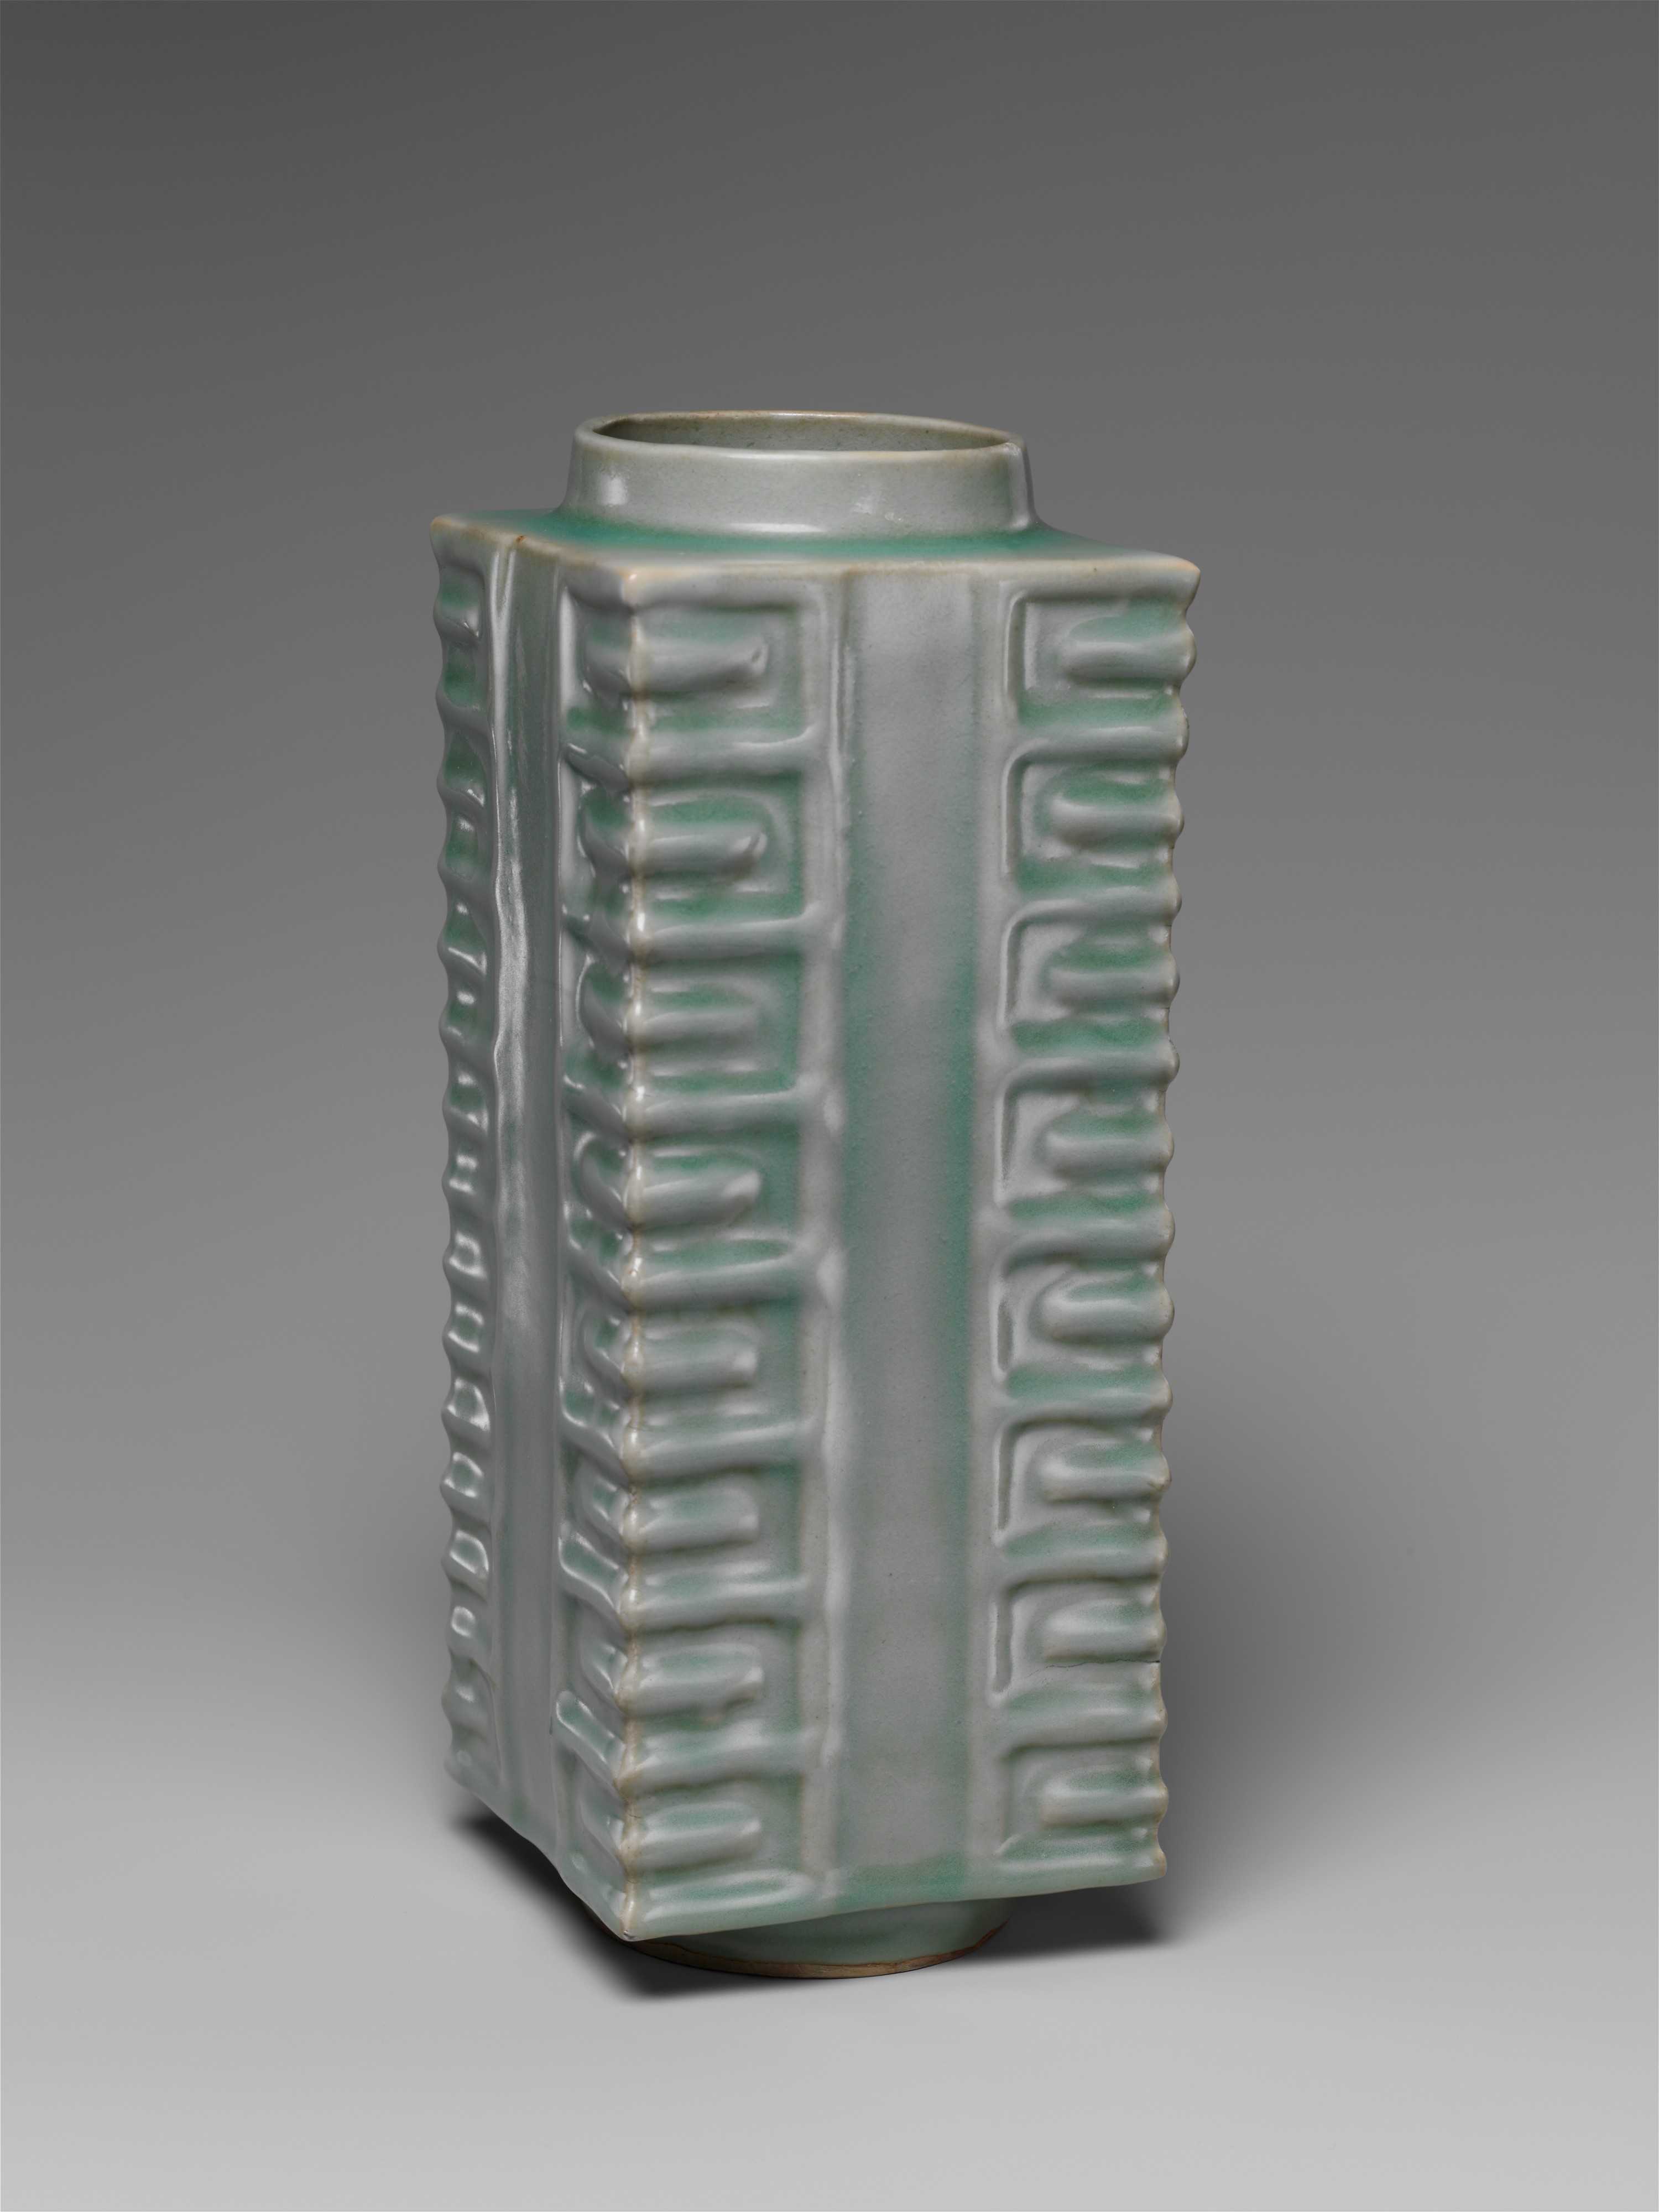
As an example of the flexibility my code provides for parameterizing a Cong vessel, here is a shorter vase I made using this code with modified inputs.
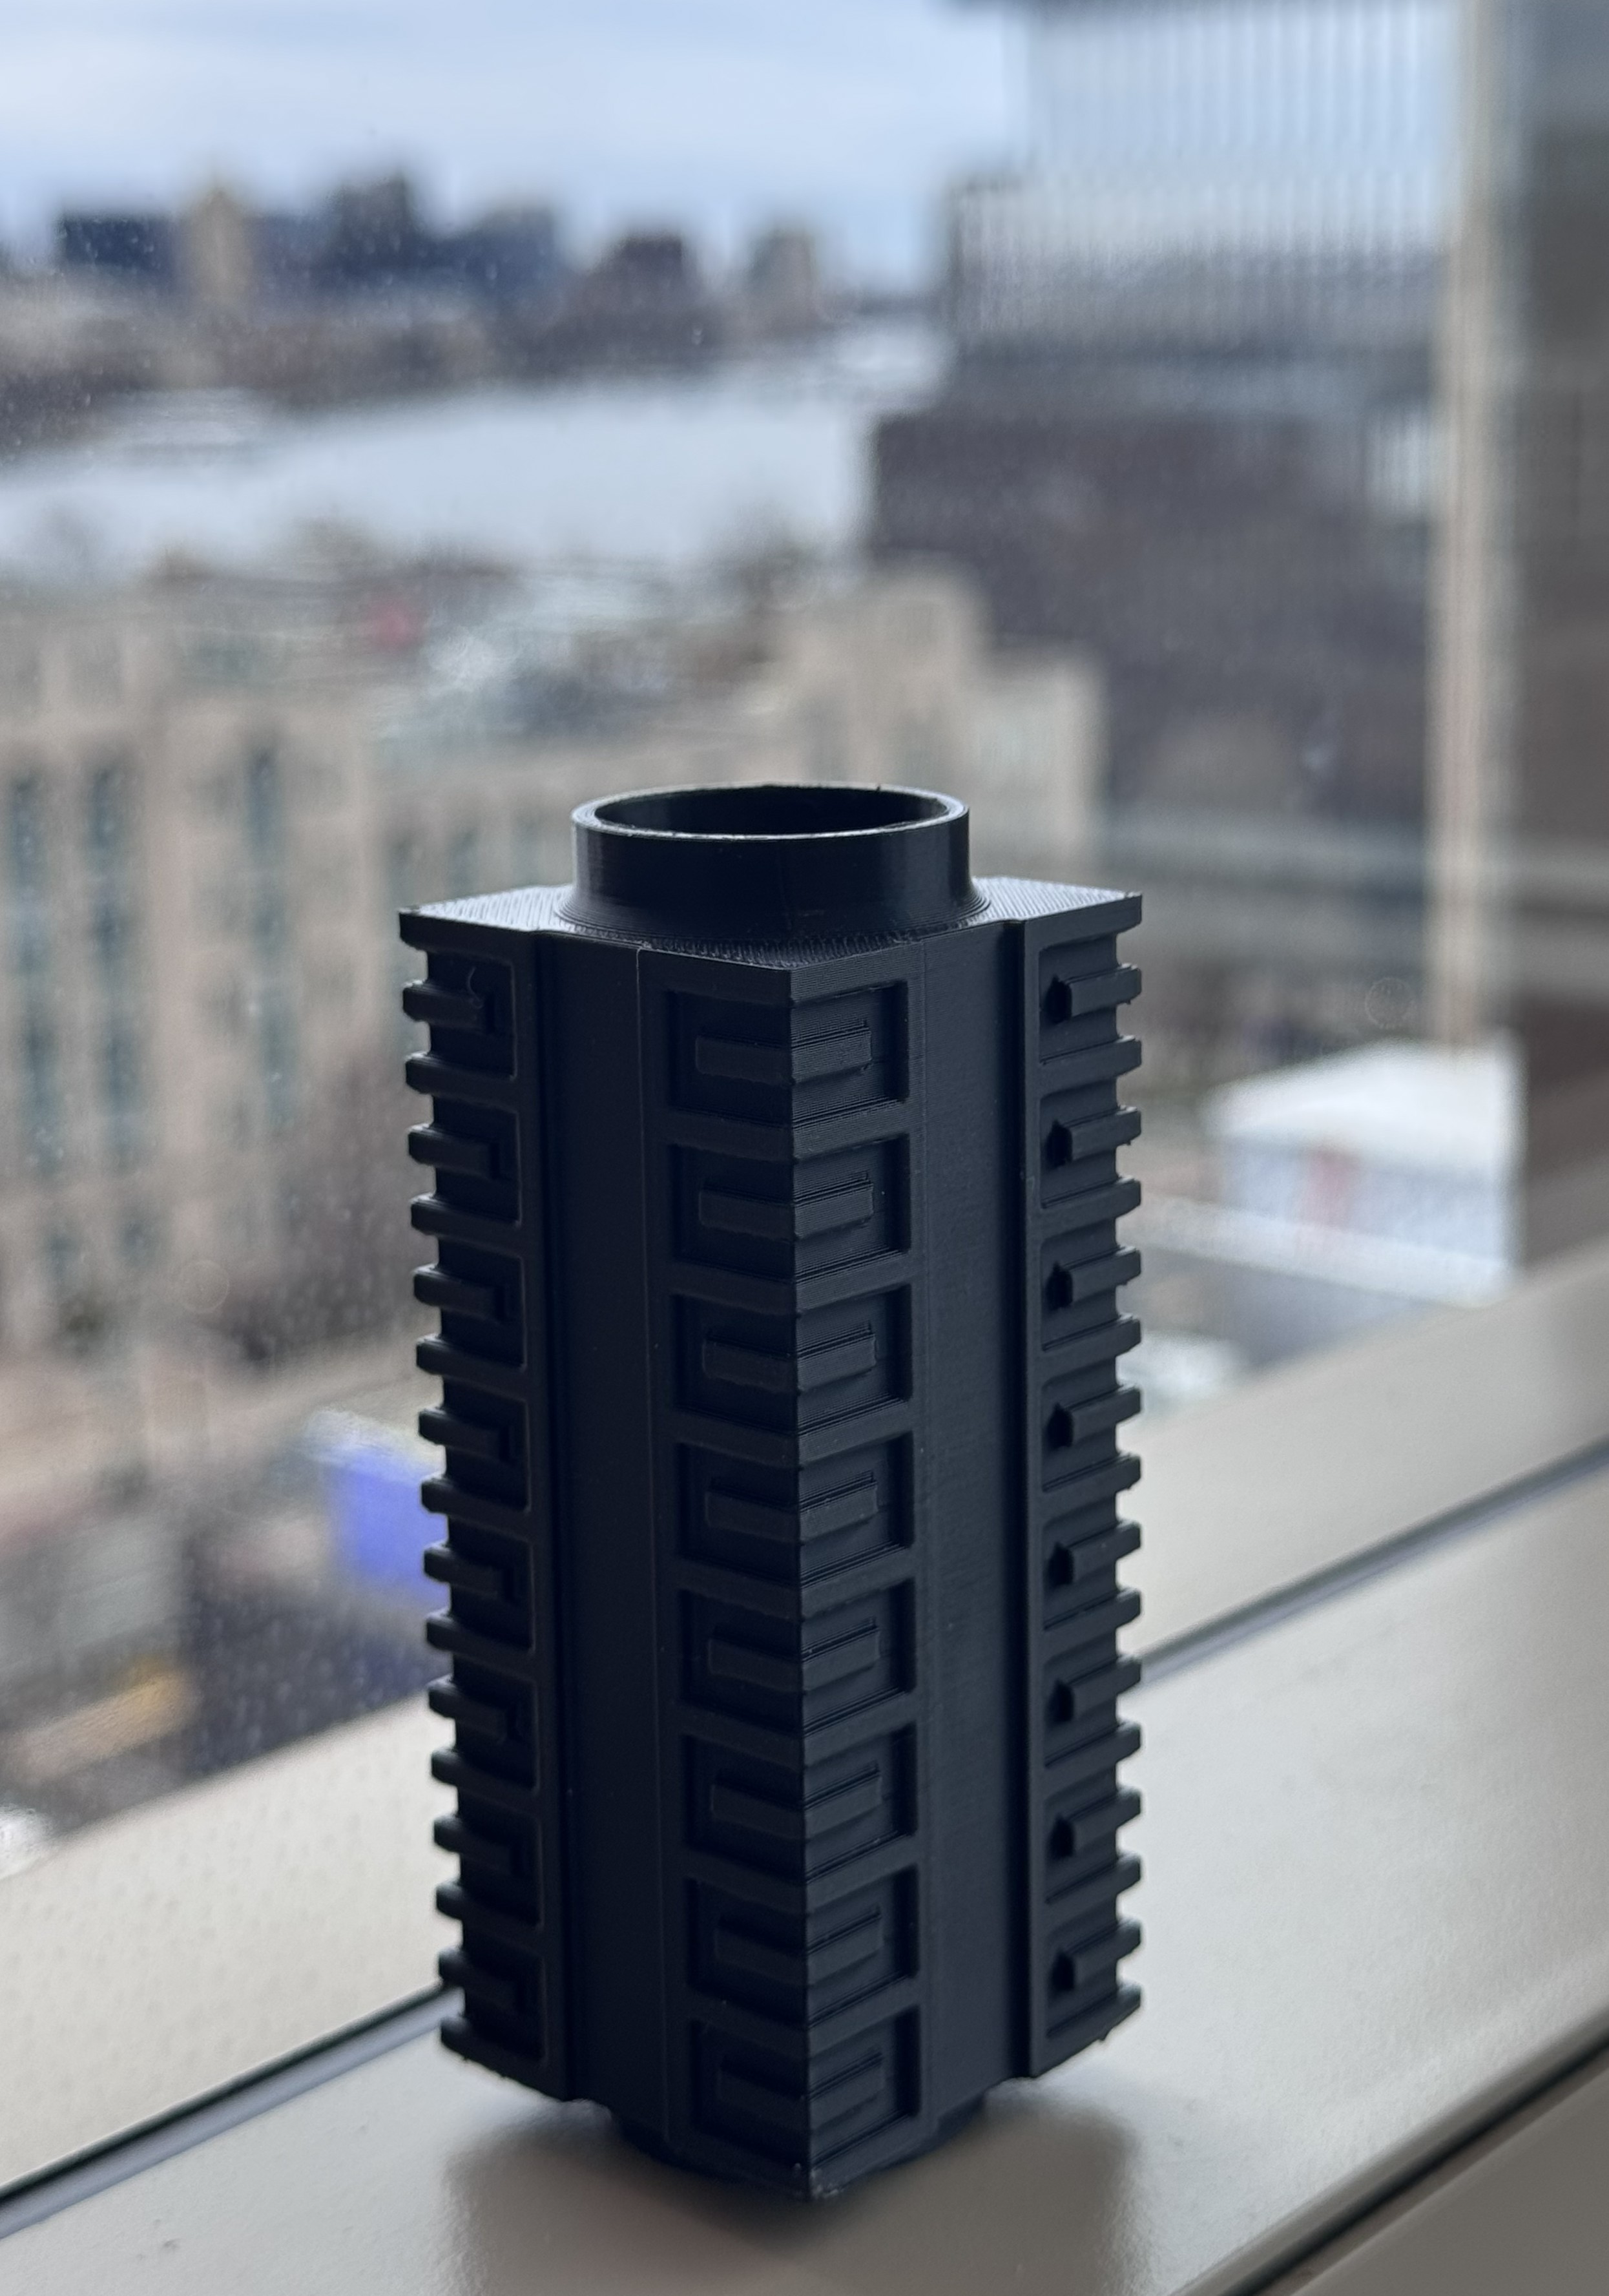
Finally, here is a photo of the Cong vase I 3D printed. I hope you enjoyed this demonstration, and I hope you experiment with this code to create unique a cong vase to your liking.